


How to make your own Kombucha. The process and secrets.
- omgfoodmalta
- Feb 15, 2023
- 4 min read
Updated: Jul 6, 2023
Make your own Kombucha: Your Ultimate Guide to Crafting Probiotic-Rich Tea at Home | Step-by-Step Instructions and Tips
It had been a while since we learned about Kombucha, and we have been fans of it for some time now. What is Kombucha? How do you make your own Kombucha, you may be asking.
Kombucha is a fermented tea drink that has recently gained popularity due to its potential health benefits. It is made by adding a symbiotic culture of bacteria and yeast to sweetened tea, which produces a fizzy, tangy, and slightly sweet beverage.
Since Kombucha contains live probiotic cultures that help support your digestive system, potential health benefits include improved digestion and immune function. It is also rich in antioxidants and comes in various flavours. You can enjoy it as a refreshing and probiotic-rich alternative to traditional soft drinks.
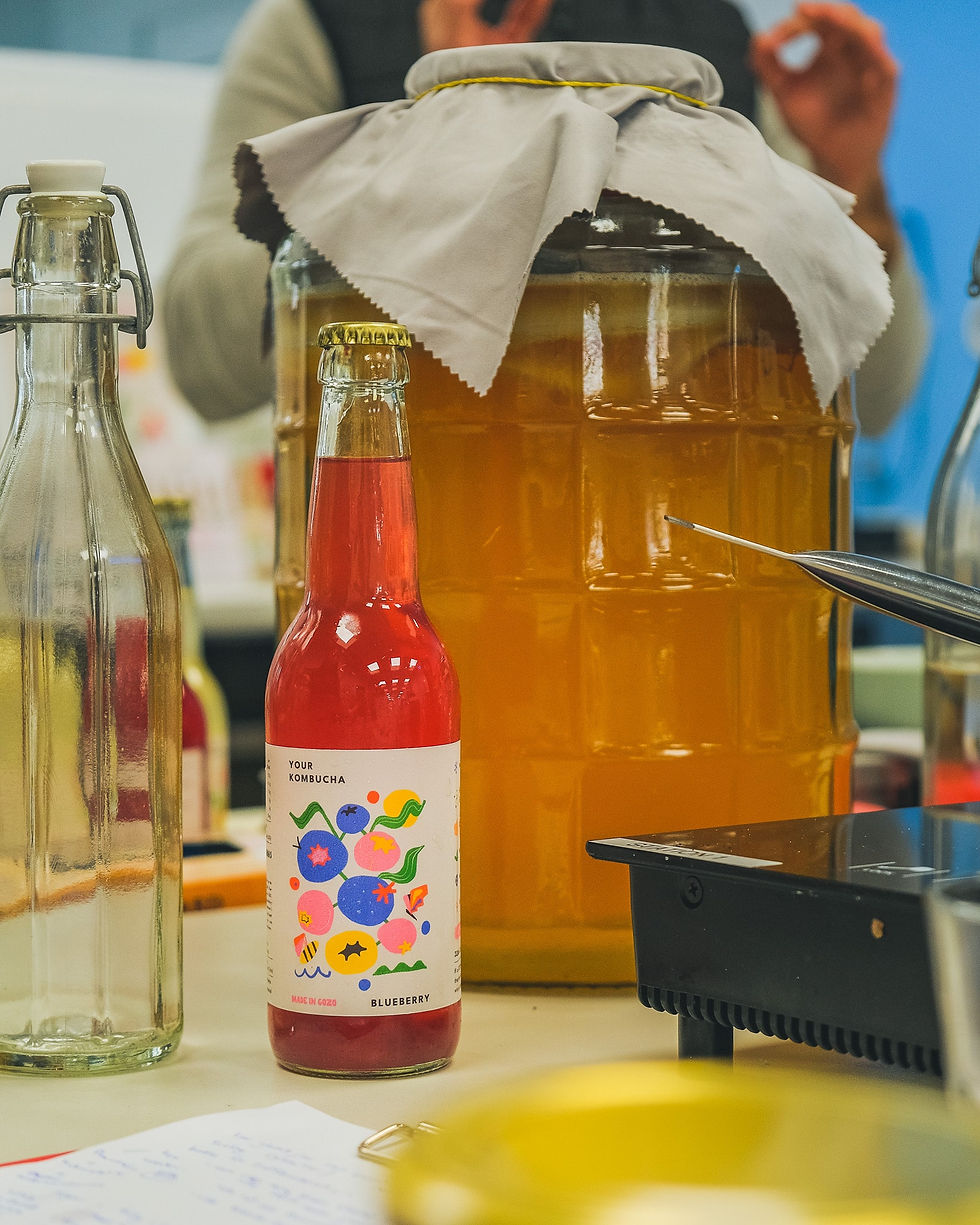
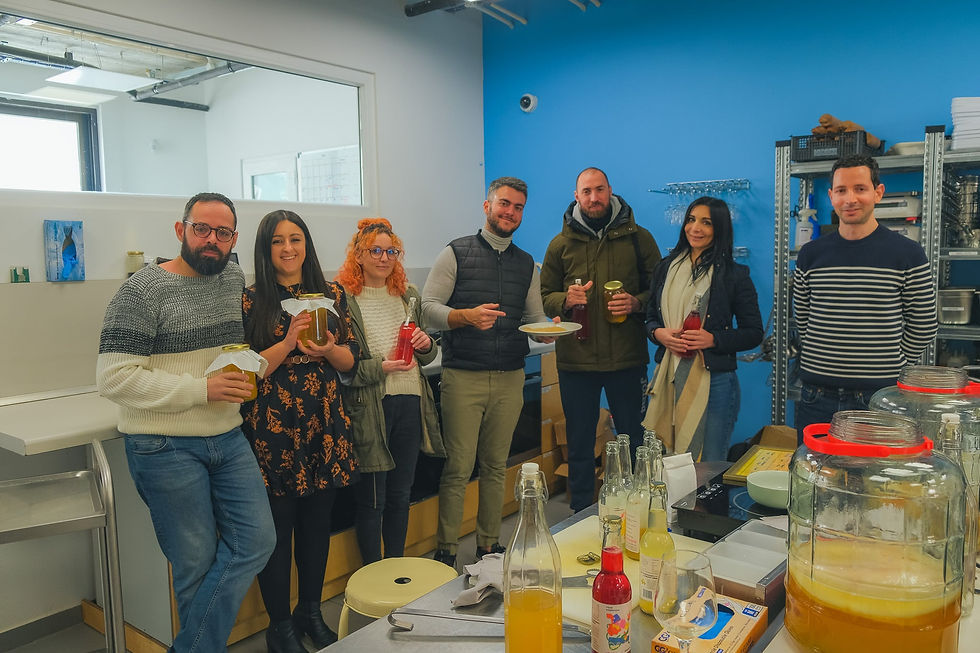
With this knowledge in mind, Jon and I were excited to attend a Kombucha workshop held at the MCA in Naxxar. The workshop, led by Wayne Magri Xuereb of Your Kombucha, offered us a wealth of information about the history of this fermented drink, the process of making it, and some inside tips on how to get the best possible results.
Wayne hosts these workshops to teach people how to make their own Kombucha, and to spread awareness of its numerous health benefits. He started Your Kombucha in 2021 in Gozo.

Your Kombucha has since expanded to offer a variety of delicious flavours. You can find them in restaurants and cafeterias around the islands or purchase them directly online. If you are new to Kombucha, we recommend starting with the Ginger flavour. Its zesty flavour with just enough spicy kick is as fresh as it gets!

How to make your Kombucha
The process is surprisingly simple. You will need a few basic ingredients to start brewing your first batch of Kombucha. Luckily, many of them are available in your kitchen, most probably!
For a 1-litre batch, you will need a 1-litre glass jar, a kombucha starter (if you don’t have one, you can use unflavored Your Kombucha original), tea (Wayne recommended black, green, or jasmine tea, but mostly, making sure to choose unbleached tea bags), 1 litre of water, and 50-70 grams of sugar.
The first step is very important. We need to sanitise the jar properly. Sanitising jars before brewing Kombucha is important to ensure that only the desired bacteria and yeast are present in the brewing environment.
Unless properly sanitised, jars may contain harmful bacteria or other microorganisms that can interfere with the fermentation process or spoil the final product. Sanitising the jars also helps to prevent contamination from external sources, such as dust or other bacteria that may be present in the air.
Cleaning and sanitising jars well helps ensure the health and safety of your Kombucha as well as its taste and quality.
First fermentation
After being presented with a selection of teas, we finally settled on a lovely Jasmine tea. Boil some jasmine tea. Sugar is added to Kombucha during the brewing process as a food source for the yeast and bacteria in the starter culture.
The yeast consumes the sugar, producing alcohol and carbon dioxide as byproducts. The bacteria in the starter culture then consume the alcohol, converting it into acetic acid and other organic acids that give Kombucha its tangy flavour.

How much sugar with your Kombucha
Adding the right amount of sugar is important because it helps to balance the flavours and ensure that the yeast and bacteria have enough food to grow and ferment the Kombucha. Too little sugar and the fermentation process may be slow and incomplete. Too much sugar, yeast and bacteria may produce excessive alcohol, leading to a strong, alcoholic flavour.
It’s worth noting that the amount of sugar in the final kombucha product is significantly lower than the amount added during brewing. This sugar level lowers because the yeast and bacteria consume much of the sugar during fermentation.
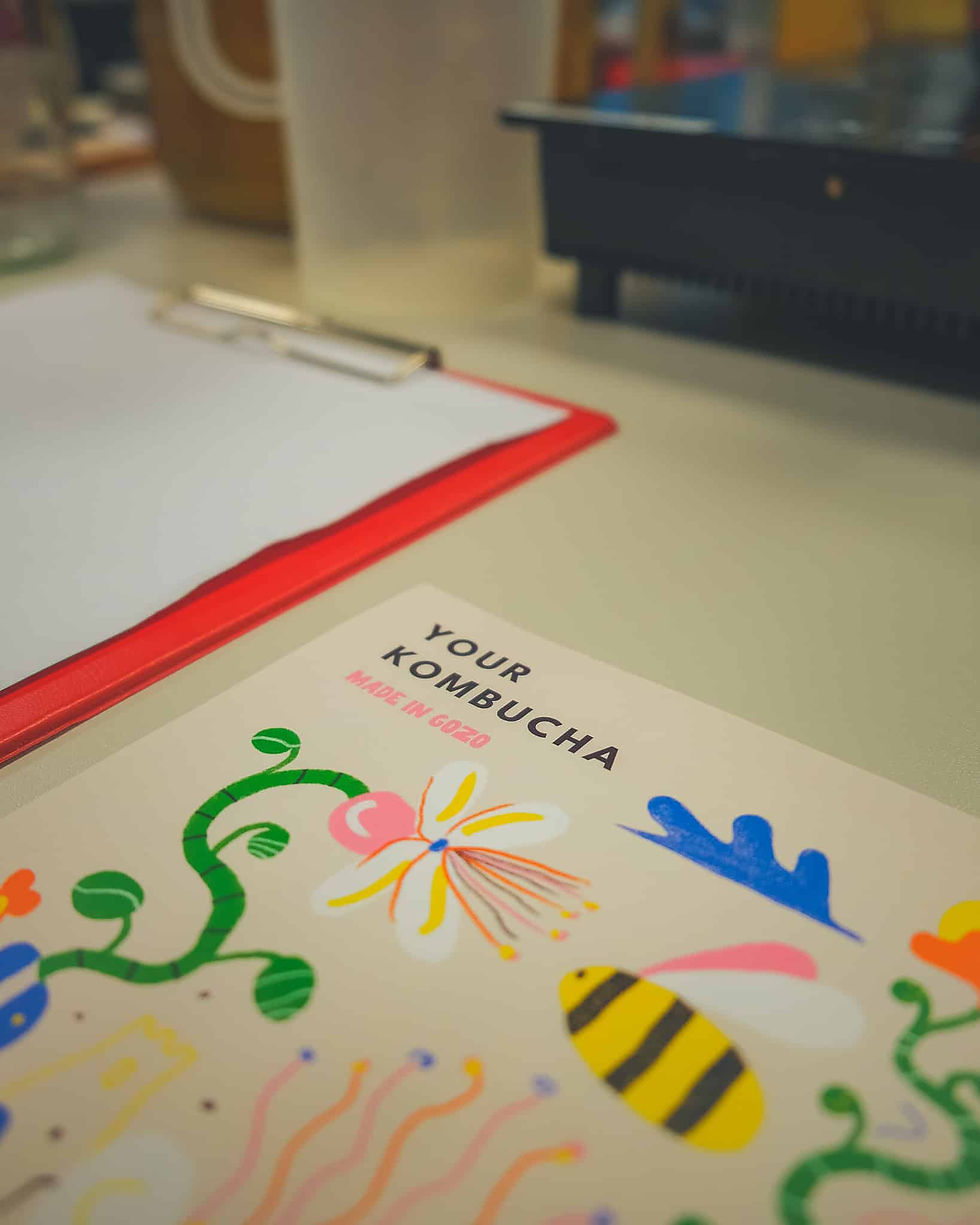
When is Kombucha ready to taste
You can test the taste of the Kombucha after seven days. If the taste is sweet enough for your liking, then congratulations, you have made your first batch of Kombucha!
If the taste is too sour, your Kombucha has become Kombucha vinegar. Don’t despair yet, though. Kombucha vinegar has many uses, such as watching clothes or being a starter. Meantime, go on and try again!
Ingredients
100ml starter
1 tablespoon Jasmine tea
70g sugar
1-litre filtered water
Method
Sanitise a 1 litre glass bottle with hot water. Rinse with white vinegar.
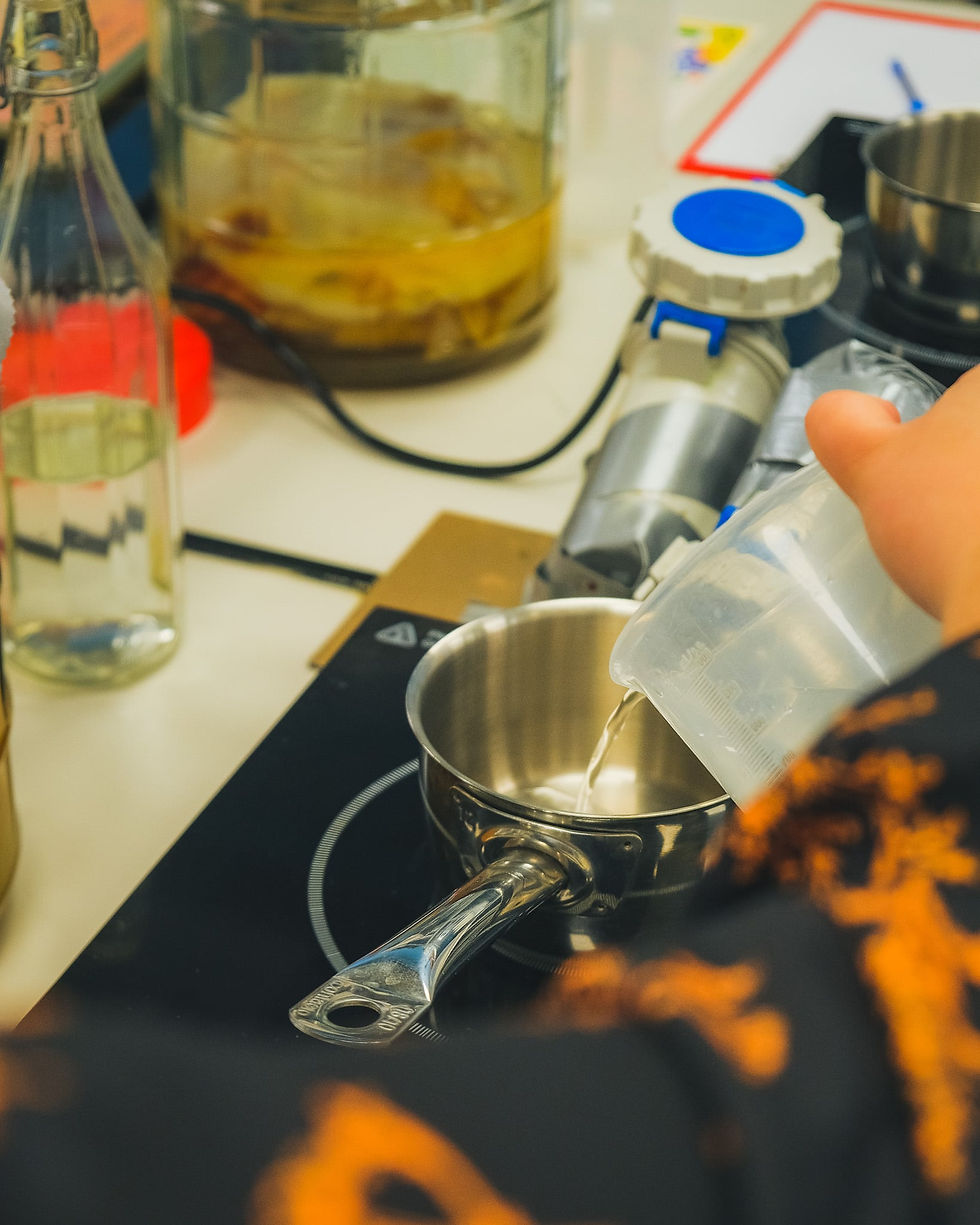
Boil 400ml of water in a small pot. Add 1 tablespoon of Jasmine tea.
When it reaches boiling point, turn off heat and let it sit for 10 minutes.
Filter the tea out and add 50-70g of sugar. Stir well until dissolved.
Pour the tea into the glass bottle and top up with additional 500 ml of room-temperature filtered water.
Add the starter to the bottle.
Cover with a cloth and set aside.
Test the Kombucha after 7 days for sweetness. Ferment for following days until it has reached the desired sweetness.
Please note, if the Kombucha is too sour, it has fermented for too long (become a vinegar) and can be used as a starter.
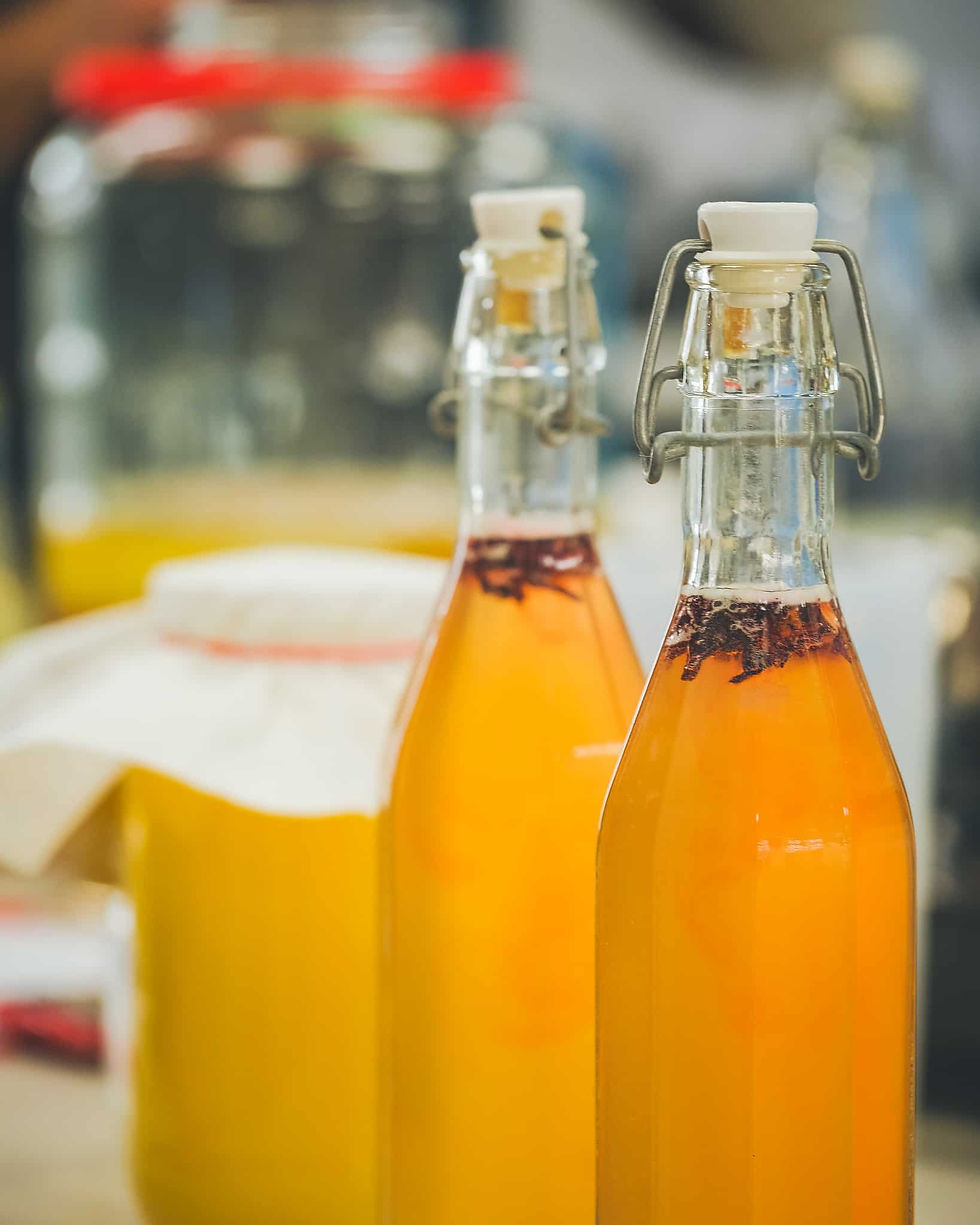
Second fermentation of Kombucha
The second fermentation in Kombucha is a process of carbonating the Kombucha by adding flavourings and bottling the Kombucha to create a sparkling, flavoured beverage. The second fermentation typically lasts 1-3 days after the first fermentation process.
Ingredients:
1-litre Kombucha after first fermentation
Fruit or spices (we chose hibiscus)
Method:
Add flavourings (hibiscus) to Kombucha
Seal the bottles
Place in a warm, dark place for 1 to 7 days, depending on your personal preference.
Test for flavour and carbonation, when you are happy with the flavour and carbonation, store in the fridge to stop the carbonation process.
When you are ready to drink and enjoy, open over a sink in case of excessive carbonation.
If you want to experience a Kombucha workshop, we strongly encourage you to look out for workshops organised by Wayne. If, on the other hand, you’d rather enjoy prepared bottles of Kombucha, follow this link.
Opmerkingen